Введение (Introduction)
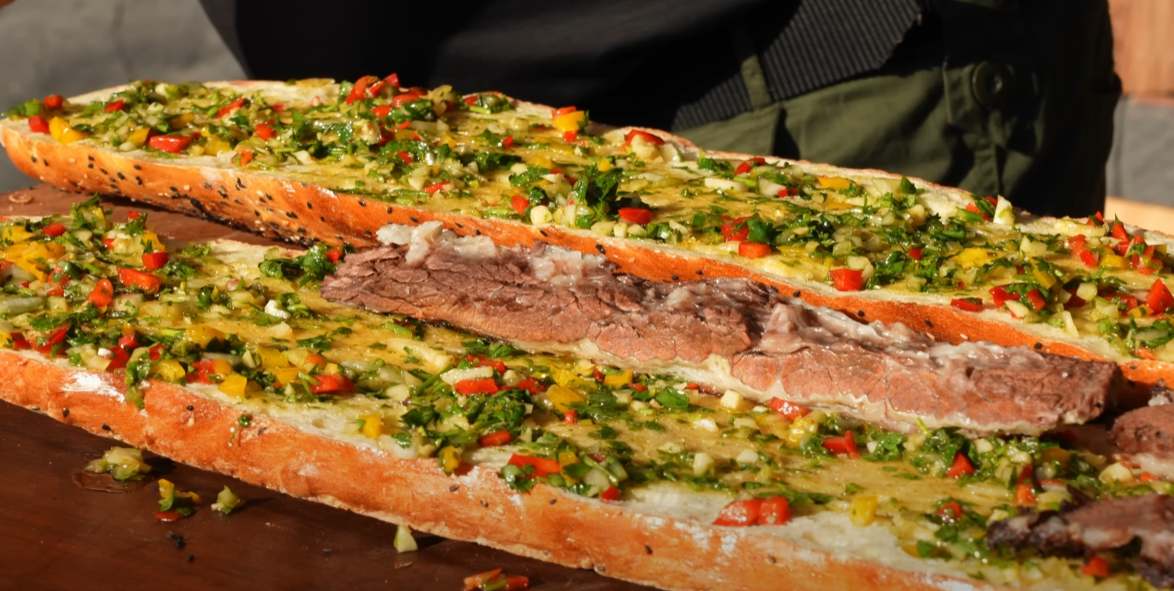
Русский: Этот сэндвич с говяжьими ребрышками и чимичурри, приготовленный на открытом огне, сочетает нежное мясо, расплавленный сыр и яркий соус. Идеально для пикника на природе!
English: This chimichurri rib sandwich, cooked over an open fire, combines tender beef ribs, melted cheese, and a vibrant sauce. Perfect for an outdoor picnic!
Ингредиенты (Ingredients)
| Русский | English |
|---|---|
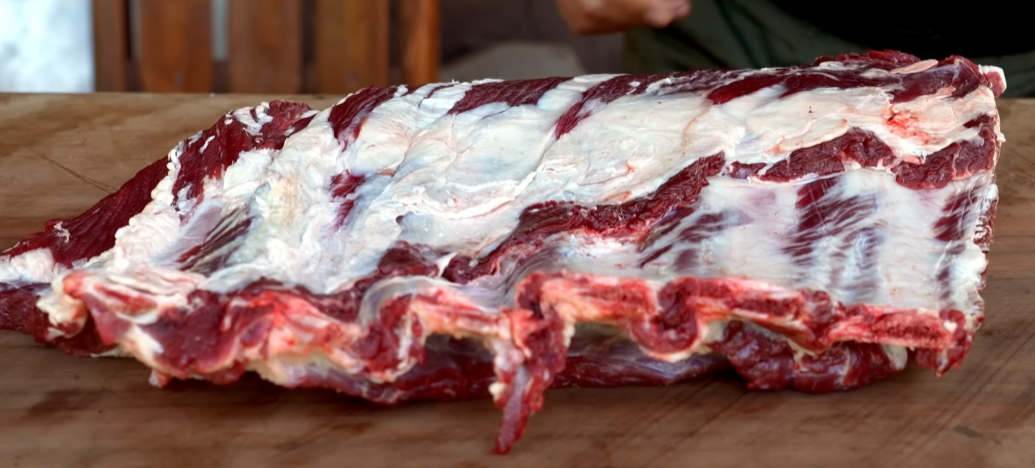
| 1 кг говяжьих ребрышек | 1 kg beef ribs |
| 2 ст. л. оливкового масла | 2 tbsp olive oil |
| 1 ст. л. крупной морской соли | 1 tbsp coarse sea salt |
| 1 ч. л. черного перца | 1 tsp black pepper |
| 1 ч. л. копченой паприки | 1 tsp smoked paprika |
| 200 г сыра (моцарелла или проволоне) | 200 g cheese (mozzarella or provolone) |
| 1 багет или чиабатта | 1 baguette or ciabatta |
| Чимичурри: | Chimichurri: |
| 1 стакан свежей петрушки, мелко нарезанной | 1 cup fresh parsley, finely chopped |
| 3 зубчика чеснока, измельченных | 3 garlic cloves, minced |
| 1/2 стакана оливкового масла | 1/2 cup olive oil |
| 2 ст. л. красного винного уксуса | 2 tbsp red wine vinegar |
| 1 ч. л. хлопьев красного перца | 1 tsp red pepper flakes |
| Соль и перец по вкусу | Salt and pepper to taste |
Инструкции (Instructions)
Русский:
- Натрите ребра маслом, солью, перцем и паприкой. Маринуйте 30 минут.
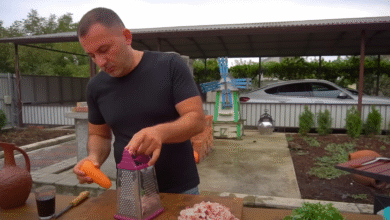
- Смешайте петрушку, чеснок, масло, уксус, хлопья перца, соль для чимичурри. Оставьте настояться.
- Разведите огонь или разогрейте гриль до среднего жара.
- Жарьте ребра 2-3 часа на низком жаре до мягкости, завернув в фольгу после обжарки.
- Нарежьте багет, слегка поджарьте, выложите мясо, сыр и чимичурри.
- Подавайте горячим, с дополнительным соусом.
English:
- Rub ribs with oil, salt, pepper, and paprika. Marinate for 30 minutes.
- Mix parsley, garlic, oil, vinegar, red pepper flakes, and salt for chimichurri. Let sit.
- Build a fire or preheat grill to medium heat.
- Grill ribs 2-3 hours on low heat until tender, wrapping in foil after searing.
- Slice baguette, lightly toast, layer with meat, cheese, and chimichurri.
- Serve hot with extra sauce.